How to Recover Deleted Files from External Hard Drive Using CMD
Accidentally deleted important files from your external hard drive? Don’t panic just yet. Believe it or not, you can actually recover them using a simple built-in Windows tool—no expensive software required. If you’re wondering how to recover deleted files from external hard drive using CMD, you’re in the right place. Microsoft offers a free utility called Windows File Recovery (Winfr) that operates entirely through the Command Prompt. While it may look intimidating at first, this tool is surprisingly powerful and effective when used correctly. Whether you lost documents, photos, or PDFs, CMD commands can often bring them back—if you act quickly. In this guide, we’ll walk you through the syntax, parameters, real-life examples, and even what to do when CMD fails. Plus, we’ll show you a user-friendly alternative if command lines aren’t your thing. Let’s dive in and recover what matters most.
Can You Recover Deleted Files from an External Hard Drive Using CMD?
Yes—but with limitations. CMD doesn’t “undelete” files in the traditional sense. Instead, it interacts with file system metadata, making it ideal for recovering files that are hidden or logically disconnected from the system.
CMD-based methods work best when:
- The files were deleted recently
- The drive is NTFS-formatted
- No major write operations occurred after deletion
However, CMD can’t restore files that are physically overwritten or corrupted beyond recognition. If the built-in methods fail, data recovery software may offer a better chance.
Method 1: Recover Deleted Files with Windows File Recovery (CMD Tool)
Microsoft offers a free command-line tool called Windows File Recovery for more advanced recovery cases, such as accidentally deleted or formatted data. It supports NTFS, exFAT, and ReFS file systems.
How to Install Windows File Recovery
Step 1: Open the Microsoft Store on your Windows PC.
Step 3: In the search bar, type “Windows File Recovery”.
Step 3: Click “Get” to download and install the tool.
Basic Usage (CMD Format):
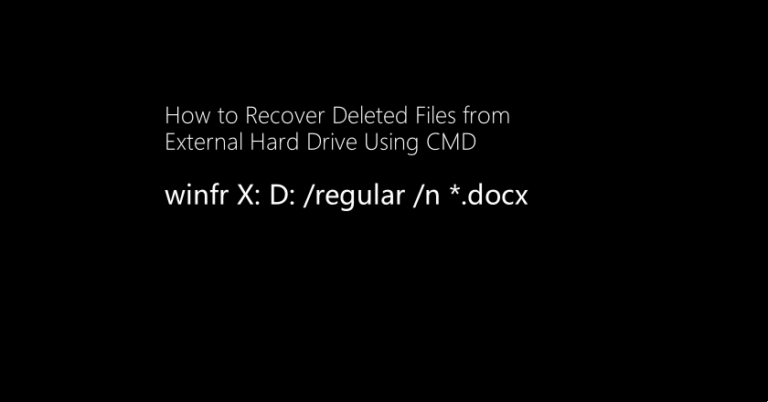
winfr X: D: /regular /n *.docx
Explanation of Parameters:
X:is the source (external) driveD:is the recovery destination (must be different)/regularis the recovery mode for recently deleted files/n *.docxlimits recovery to Word documents
✅When to use: For recovering files deleted from external drives, especially NTFS, when simple CMD commands don’t work.
Recovery Modes:
| Mode | Best Used For |
|---|---|
| Regular | Recently deleted NTFS files |
| Extensive | Damaged or formatted drives, all formats |
Method 2: Recover Hidden Files Using the Attrib Command
Windows may sometimes mark files as hidden or system files, making them invisible to normal browsing—even though they’re still present on the drive. The attrib command can help reveal and restore these files.
Step 1: Open Command Prompt as Administrator
Step 2: Type the following command:
attrib -h -r -s /s /d X:\*.*
Step 3: Replace X: with the drive letter of your external hard drive
Step 4: Press Enter and wait for the process to complete
Step 5: Check the drive to see if files have reappeared
Explanation of Parameters:
-h:-r:-s:/s:/d:includes directories
✅When to use: Use this method when you suspect files are hidden due to viruses, permission errors, or system-level changes.
Method 3: Repair Drive Errors with CHKDSK
Sometimes, file loss occurs because of file system corruption—not accidental deletion. CHKDSK (Check Disk) scans the drive for errors and attempts to fix them, which may recover lost file entries.
Step 1: Open CMD as Administrator
Step 2: Enter the following:
chkdsk X: /f /r
Step 3: Replace X: with your external drive letter
Step 4: Wait for the scan to finish. This may take time depending on the size of the drive and the number of errors.
Explanation of Parameters:
/ffixes detected errors/rlocates bad sectors and attempts recovery
✅When to use: Try this when files disappear after a crash, improper ejection, or system corruption.
What to Do If CMD Doesn’t Work: Try WinfrGUI
If using the Winfr command-line feels confusing or just isn’t working out, don’t stress. WinfrGUI is a totally free, easy-to-use alternative that puts all the power of Windows File Recovery into a simple, visual interface. No need to remember tricky commands or deal with technical jargon—just pick your drives, start the scan, and preview your files before recovering. It’s designed for everyone, whether you’re a beginner or just want a faster way to get your lost data back from USB drives, hard disks, or memory cards without hassle.
Why WinfrGUI is a Smarter Choice?
- No Command-Line Required – A clean, intuitive interface designed for all users—no technical skills needed.
- Easy Drive Selection – Select your source and destination drives with just a few clicks.
- Advanced Filtering Options – Quickly locate files by filtering scan results by type or folder.
- Preview Before Recovery – View recoverable files before restoring to avoid unnecessary data clutter.
Usage Examples of Winfr
Now that you understand the basics, let’s take it a step further. To make things easier in real-world scenarios, here are several practical commands you can use—depending on the file type, location, or situation you’re dealing with. Whether you’re recovering photos from a USB or documents from a formatted drive, these examples will help you get started quickly.
Example 1: Recover Deleted Word Documents
Step 1: Ensure your external drive is labeled E: and connected.
Step 2: Create a folder named Recovery on D: to store the recovered files.
Step 3: Run this command to recover all .docx files recently deleted from drive E:.
winfr E: D:\Recovery /regular /n *.docx
✅ Use this when: You accidentally deleted Word documents and the drive uses NTFS format.
Example 2: Recover Images from a Specific Folder Using Segment Mode
Step 1: Connect your external drive and verify its letter is E:.
Step 2: Use Segment mode to scan for .jpg files under a specific folder path.
Step 3: Files will be recovered to the D:\Recovery folder.
winfr E: D:\Recovery /segment /n \Users\Photos\*.jpg
✅ Use this when: You want to recover images from a known folder path, and Regular mode didn’t work.
Example 3: Deep Scan for PDF Files Using Signature Mode
Step 1: Connect the external hard drive and check its letter (e.g., E:).
Step 2: Create a folder on D: named Backup for saving restored files.
Step 3: Use Signature mode to search for .pdf files by their file signature.
winfr E: D:\Backup /signature /y:pdf
✅ Use this when: The drive is formatted, corrupted, or not NTFS, and you need to recover PDF files.
Example 4: Recover Excel and PowerPoint Files Together
Step 1: Connect the drive and confirm its letter is E:.
Step 2: Create a recovery folder on D: called Files.
Step 3: Run this command to recover .xlsx (Excel) and .pptx (PowerPoint) files.
winfr E: D:\Files /regular /n *.xlsx /n *.pptx
✅ Use this when: You need to recover multiple document types at once from a recently deleted batch.
Example 5: Recover Files with a Specific Keyword in the Name
Step 1: Make sure E: is your external hard drive.
Step 2: Create a folder named Output on the D: drive.
Step 3: Use the wildcard pattern *report* to find files containing “report” in their name.
winfr E: D:\Output /regular /n *report*
✅ Use this when: You don’t know the file extension but remember part of the filename.
Common CMD File Recovery Issues
Even though Command Prompt can be a powerful recovery tool, users often run into common problems. Here’s how to troubleshoot them effectively:
1. No files recovered
This usually means the recovery mode is too shallow. Try switching to the /signature mode for a more thorough scan—especially useful for formatted or corrupted drives.
2. “Source and destination cannot be the same”
You must save recovered files to a different drive than the one you’re recovering from. For example, if you’re recovering from E:, set the destination as D: to avoid this error.
3. Drive not detected
Make sure your external or removable drive shows up in File Explorer with an assigned letter. If it doesn’t, try unplugging and reconnecting it, or using another USB port.
4. “Access Denied” error
This often occurs due to permission issues. Right-click Command Prompt and select “Run as administrator.” Also check that the destination drive isn’t write-protected or full.
5. Scan is slow or crashes midway
Large drives can slow down or crash a scan. Use the /n switch to target specific file paths or names, or /y: to limit the scan by file types. This significantly reduces scan time and improves stability.
Conclusion
Learning how to recover deleted files from external hard drive using CMD gives you a powerful skill to protect your data. With Microsoft’s Winfr command-line tool, you can retrieve accidentally deleted files from USB drives, SD cards, or external hard disks—quickly and for free. From Word documents to images and spreadsheets, CMD-based recovery is efficient if you understand the correct syntax and recovery mode. But let’s be honest—CMD isn’t for everyone. If you hit errors or find the process confusing, tools like WinfrGUI provide a graphical interface that makes file recovery faster and easier for beginners. Data loss is stressful, but it doesn’t have to be permanent. With the right tools and guidance, your files may still be recoverable. So, before you give up or reformat the drive, give CMD a try—or explore user-friendly options to get your data back with confidence.
🔗 Also Read: