How to Find Recently Deleted Photos on Windows and Mac
The heart-stopping moment when you realize you’ve accidentally deleted a treasured photo is a feeling we’ve all experienced. One misplaced click or a momentary lapse in concentration, and a priceless memory seems to vanish into the digital ether. It’s a universal moment of panic, often followed by the sinking thought that the photo is gone forever. But what if it isn’t? The main purpose of this article is to show you exactly how to find recently deleted photos and prove that in most cases, they are not truly gone. We’ll explore the built-in, user-friendly features of both Windows and Mac operating systems that act as a digital safety net, providing a straightforward path to recovery. Before you resign yourself to the loss, follow these simple, step-by-step guides to retrieve your precious memories and restore peace of mind.
Windows PC Photo Recovery
Method 1: The Recycle Bin: Your First Stop
When you delete a file on your Windows PC, it isn’t immediately erased from your hard drive. Instead, it’s moved to a temporary holding area known as the Recycle Bin. Think of the Recycle Bin as a buffer zone, designed to give you a second chance to recover files you’ve deleted by mistake. For most accidental deletions, this is the first and most effective place to look. This is the first step on how to find recently deleted photos. Step-by-Step Guide to the Recycle Bin are as follows:
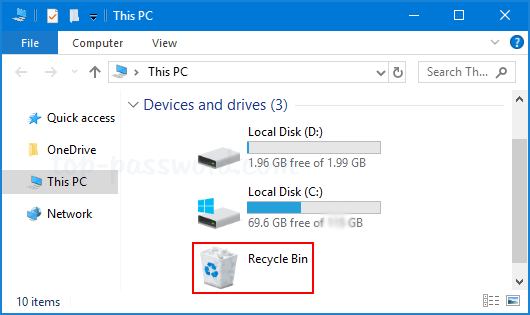
Step 1: Locate the Recycle Bin
The Recycle Bin icon is typically found on your desktop. Its icon changes to show whether it’s empty or contains files, so you can often tell at a glance if it’s holding anything. Simply double-click the icon to open it.
Step 2: Find Your File.
Once the Recycle Bin window opens, you’ll see a list of all the files and folders you’ve recently deleted. You can browse this list manually, but if it’s long, using the search function is much faster. In the top-right corner of the window, you can search by the photo’s file name. You can also right-click inside the window and choose “Group by” or “Sort by” to organize items by “Date Deleted,” “Date Modified,” or “File Type,” making it easier to pinpoint your photos.
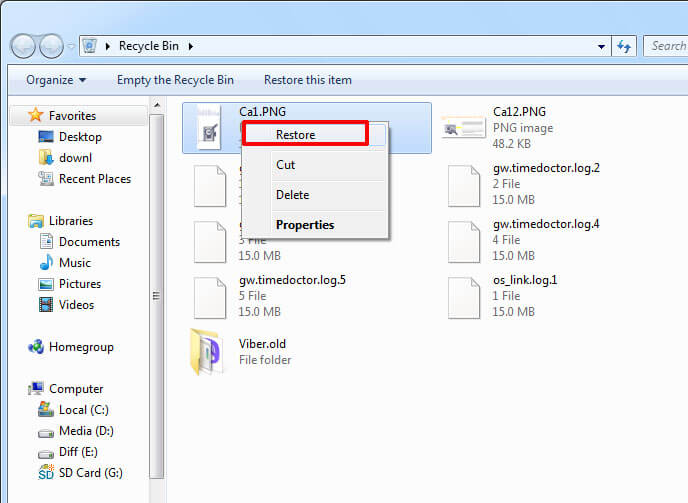
Step 3: Restore the Photo.
When you find the photo you want to recover, right-click on it. A context menu will appear with several options. Select “Restore.” This action will move the photo out of the Recycle Bin and back to its original location—the same folder it was in before you deleted it. If you want to restore multiple photos, hold down the Ctrl key (or Cmd on Mac keyboards) and click on each file you want, then right-click and select “Restore.”
Important Considerations: The Recycle Bin is a powerful tool, but it’s not a permanent archive. Files in the Recycle Bin are typically retained for 30 days by default. After this period, they are automatically and permanently deleted to free up disk space. Additionally, if you manually “Empty Recycle Bin,” all contents are permanently removed immediately, which is why you should always double-check the contents before doing so. If a file was deleted from a removable drive (like a USB stick), it often bypasses the Recycle Bin entirely and is deleted immediately, which is a critical distinction to remember.
Method 2: Windows Photos App “Recently Deleted” Album
In addition to the Recycle Bin, the built-in Windows Photos app offers a second, application-specific safety net. This feature is particularly useful if you deleted the photo from within the Photos app itself. It acts as a separate layer of protection, similar to what you’d find on a smartphone. Step-by-Step Guide to the Photos App are as follows:
Step 1: Open the Photos App.
Launch the Photos app from your Start Menu or by searching for it.
Step 2: Navigate to Recently Deleted.
On most recent versions of the app, you will find a “Recently Deleted” album. It is often located in the left-hand sidebar under a section called “Utilities” or “Collections.”

Step 3: Recover Your Photos.
Inside this album, you will find all the photos you’ve deleted from the app within the last 30 days. Click on the photo or photos you want to restore and look for a “Restore” or “Recover” button, usually located at the top or bottom of the window. Click it, and your photo will be moved back to your main photo library.
Important Considerations: This feature’s availability and exact location can vary slightly depending on your specific version of Windows 10 or 11. The retention period is also typically limited to 30 days, so it’s crucial to act quickly. Once this time has passed, the photos are permanently erased from the app’s cache and can no longer be recovered through this method. For more options on how to find permanently deleted photos from Google Photos, check out this guide: [3 Ways] How to Recover Permanently Deleted Photos From Google Photos.
Method 3: Data Recovery Software (Windows)
For photos that have been permanently deleted from both your computer and your cloud backups, specialized data recovery software may be your last resort. These tools scan the hard drive for fragments of files that haven’t yet been overwritten by new data. A great example of a free, user-friendly tool is WinfrGUI, which provides a simple graphical interface for the Windows File Recovery command-line utility. For those facing a tougher challenge, these tools provide another powerful avenue on how to find recently deleted photos that are no longer in your trash or recycle bin. Always use reputable software and be aware that the process can be complex.
Mac Photo Recovery
Just as Windows has its safety nets, macOS provides its own set of reliable tools for recovering lost photos. The concepts are very similar, but the names and locations are different. This guide on how to find recently deleted photos on a Mac will walk you through the process.
Method 1: The Trash Bin: The Mac Equivalent
On a Mac, the equivalent of the Recycle Bin is the Trash Bin, located in your Dock. This is the first place to look for any files you’ve deleted from your hard drive, including photos. Step-by-Step Guide to the Trash Bin are as follows:
Step 1: Locate the Trash.
The Trash Bin is the last icon on the right side of your Dock. Click on it to open a window showing its contents.
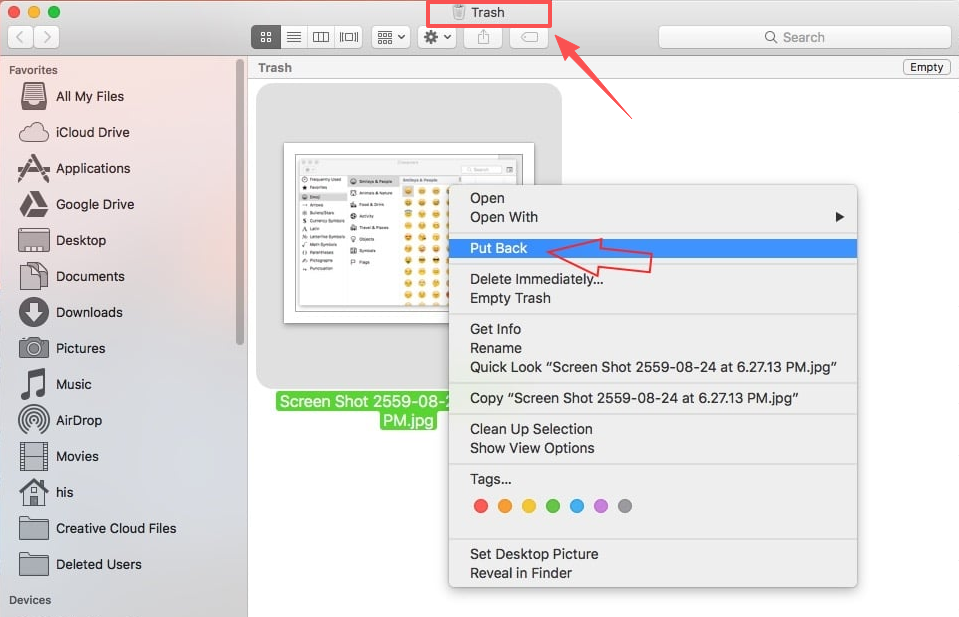
Step 2: Find and Restore Your Photo
Browse through the list of files to find the one you want. You can use the search bar within the Trash window or sort the items by name or date to make the search easier. Once you locate the photo, right-click on it and select “Put Back.” This action will return the photo to its original folder. You can also drag and drop the photo directly from the Trash window to any other folder on your Mac.
Step 3: Important Note on Deletion.
Be aware of the difference between deleting and permanently deleting. When you right-click a file and select “Move to Trash,” it goes to the Trash. However, if you use the keyboard shortcut Cmd + Option + Delete, it will “Delete Immediately,” bypassing the Trash entirely. Always be mindful of this shortcut to avoid permanent loss.
Important Considerations: The Trash Bin is not automatically emptied. The files will remain there until you manually empty the Trash. To do this, right-click on the Trash icon in the Dock and select “Empty Trash.” Once you do this, the files are permanently deleted and can no longer be recovered using this method.
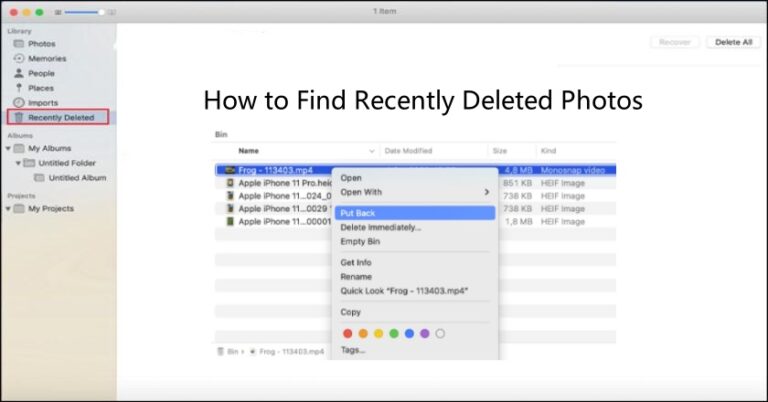
Method 2: The Photos App “Recently Deleted” Album
Similar to Windows, the native Photos app on a Mac has its own dedicated recovery folder. This is a critical step if you deleted the photo from within the Photos app and have an iCloud Photos library. Step-by-Step Guide to the Photos App are as follows:
Step 1: Open the Photos App.
Launch the Photos app on your Mac.
Step 2: Navigate to Recently Deleted
In the left-hand sidebar, scroll down until you see the “Recently Deleted” album.
Step 3: Unlock and Recover.
Because this album contains recently deleted items, it may be locked for security. You will be prompted to use your Touch ID or enter your user password to unlock it. Once unlocked, you will see all the photos and videos deleted from your library within the last 30 days.
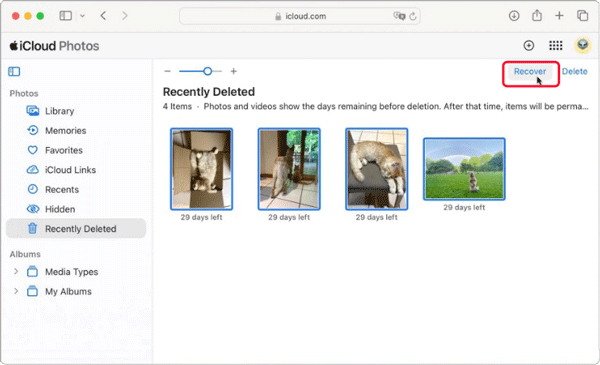
Step 4: Restore the Photo
Select the photo or photos you wish to recover, then click the “Recover” button in the top-right corner of the window. Your photos will be restored to your main library and any albums they were previously in.
Important Considerations: The 30-day window is a hard limit. After this period, the photos are automatically and permanently deleted. If you use iCloud Photos, deleting a photo on your Mac will also move it to the “Recently Deleted” folder on all of your synced Apple devices (iPhone, iPad, iCloud.com), giving you multiple opportunities to restore it.
Troubleshooting FAQ about How to Find Recently Deleted Photos
Here are some answers to common questions about recovering deleted photos.
Q1: My photos aren’t in the Recycle Bin or Trash. What do I do?
If your photos aren’t in the Recycle Bin or Trash, they were likely permanently deleted. This can happen if you used a keyboard shortcut to bypass the bin, if the files were on a removable drive, or if you manually emptied the bin. Your next step should be to check any cloud backups you have, such as Google Photos, iCloud, or OneDrive. If that fails, consider using data recovery software to scan for remaining file fragments on your hard drive.
Q2: Do deleted photos stay in the “Recently Deleted” album forever?
No, both the Windows Photos app and the Mac Photos app have a set time limit, typically 30 days, before they permanently delete the photos. It’s crucial to act quickly if you’ve deleted a photo from within the application itself.
Q3: Can I recover photos from a formatted hard drive?
Recovering photos from a formatted or corrupted drive is a very difficult process. Formatting a drive erases the file system, making it much harder to locate files. You would need to use advanced data recovery software, and even then, success is not guaranteed. The best course of action for a formatted drive is to stop using it immediately to avoid overwriting any remaining data, then seek a professional data recovery service.
Q4: How do cloud services like Google Photos or iCloud handle deleted pictures?
Cloud services are an excellent secondary backup. When you delete a photo from an app that’s synced to a cloud service, it’s often moved to a separate “Trash” or “Bin” folder within the cloud service itself. These folders also have a time limit, but it can be different from your computer’s. Always check your cloud service’s dedicated trash folder through a web browser to see if your photo is there.
Q5: How can I prevent accidentally deleting photos in the future?
The best way to prevent accidental deletion is through proactive measures. Use a reliable cloud backup service to automatically sync your photos. You can also make a habit of backing up important files to a separate external hard drive or USB stick. Finally, be mindful of what you’re deleting and avoid using permanent deletion shortcuts unless you are absolutely sure you want to erase a file forever.
Conclusion
The fear of a permanently lost photo is a common anxiety in our digital lives. However, in the vast majority of cases, your operating system and photo applications have your back. By understanding and utilizing the “Trash” or “Recycle Bin” and the “Recently Deleted” albums, you can almost always retrieve your files with a few simple clicks. The key is to act quickly before the 30-day window expires. So, next time you accidentally delete a photo, take a deep breath and remember these steps—your memories are likely just a click away from being recovered.
🔗 More Tutorials: