How to Use Windows File Recovery

What is Windows File Recovery?
Windows File Recovery is a Windows 10 file recovery tool released by Microsoft on January 21, 2020, which supports Windows 10 and above devices. It can recover files from a variety of storage devices, like healthy/formatted/corrupted SSD/HDD/USB/memory cards, including PDF, JPEG, PNG, ZIP, MOV, etc.
Unlike most software on the market, it is a command-line application, so it’s kind of complicated for people without a computer background. But luckily, this tutorial will tell you more about it.
What can we do by using Windows File Recovery?
In this information age, computers have become our daily tools, and we often store our data in it, like documents, photos, etc. Sometimes we encounter the situation of data loss, such as accidental deletion, computer formatting, virus intrusion. At this time, we can use Windows File Recovery to restore the lost data.
It is worth mentioning that this software is widely used and can recover data from different storage devices. If you are interested in this software, you can use it according to the steps given below.
Step-by-step: Use Windows File Recovery to recover files
After the above introduction, do you know how to use Windows File Recovery? Most people should not be very clear, because they are not familiar with the command line. Now, I will teach you step by step. First of all, you should know the parameters that you will type in the command line, and its structure like this: winfr source-drive: destination-drive: [/mode] [/switches]. These command prompts are unfamiliar to most people, don’t worry, I’ll explain them one by one below.
File system: the way your disk uses to store and retrieve the data.
Source drive: where you have lost your files.
Destination drive: the place that you store your recovered files. (the source drive and the destination drive cannot be the same.)
Mode: regular & extensive. You will select the mode depending on the file system.
| File system | Scenarios | mode |
| NTFS | Deleted recently | Regular |
| NTFS | Deleted for a while | Extensive |
| NTFS | Formatted disk | Extensive |
| NTFS | Corrupted disk | Extensive |
| FAT and exFAT | Any | Extensive |
Switch: narrow the scanning range.
| Switches | Meaning | Supported mode(s) |
| /n | To filter the scan range: scans for a specific file with its file name/path/type, etc. | All |
| /y: | Recovers system files. | NTFS/segment |
| /u | Recovers undeleted files, for example, from the Recycle Bin. | NTFS/Segment |
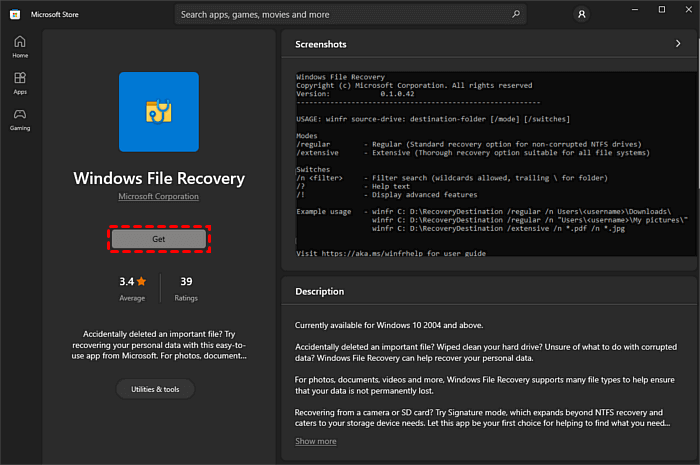
These are the parameters you need to use. Then, you can enter the official page to download this software, and the official website also explains how to use Windows File Recovery, you can read the usage process carefully again. At the end, based on your understanding of the process, you can write your own command line.
From the above description, it is not difficult to see that this freeware is a bit complex to operate, so I am going to tell you a more convenient tool. WinfrGUI is such software, which you just need a few mouse clicks to complete file recovery.
In fact, WinfrGUI has the same effect as Windows File Recovery in that it totally invokes the functionality of the latter. But unlike it, WinfrGUI provided users with graphical interface, which makes it easier for users to understand. Not only that, it has a high safety factor and there is no size limit for the recovered files. Next, I am going to show you how to use windows file recovery tool. At first, you can download this freeware.
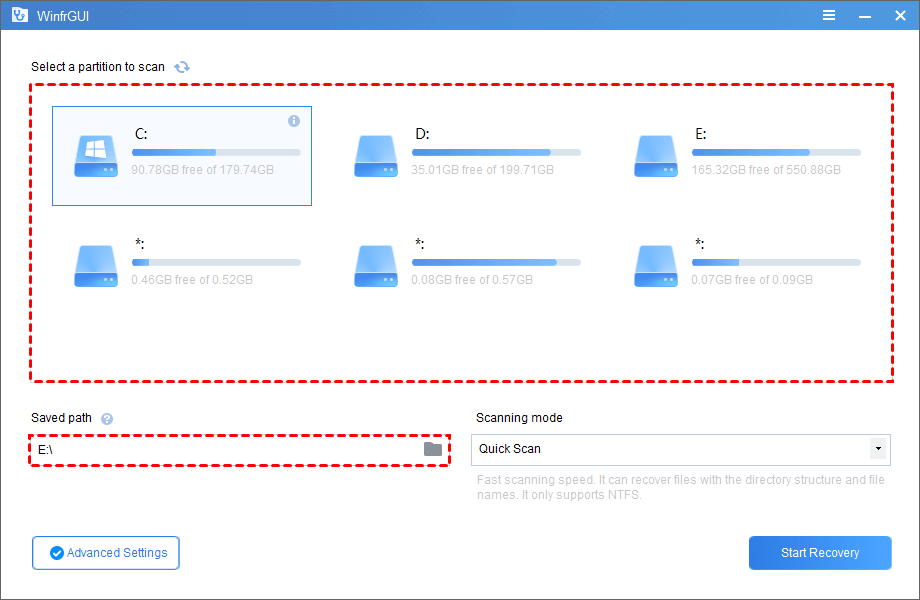
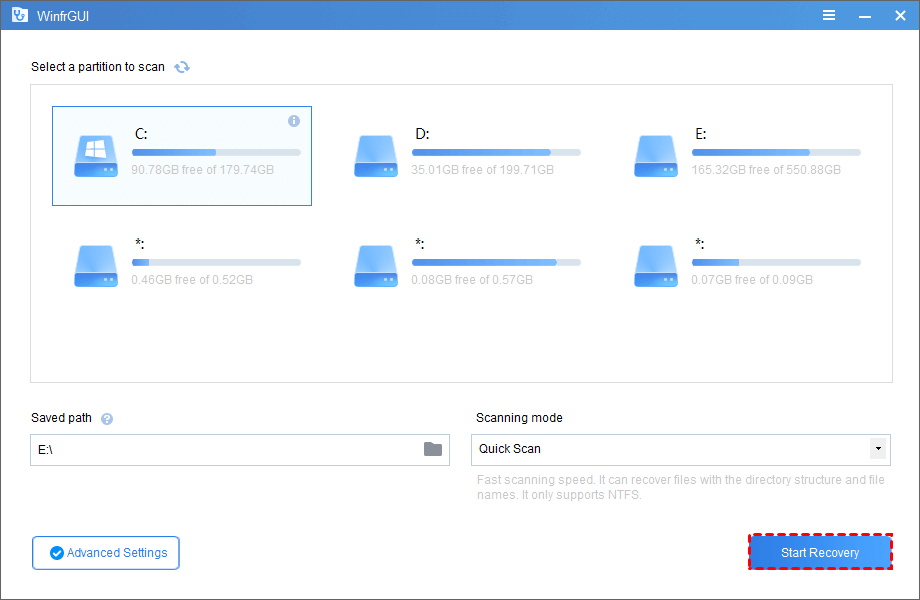
Step 1. Select the range to scan, and then choose a place to restore files.
Step 2. Choose the scan mode, and determine the file type in “Advanced settings”.
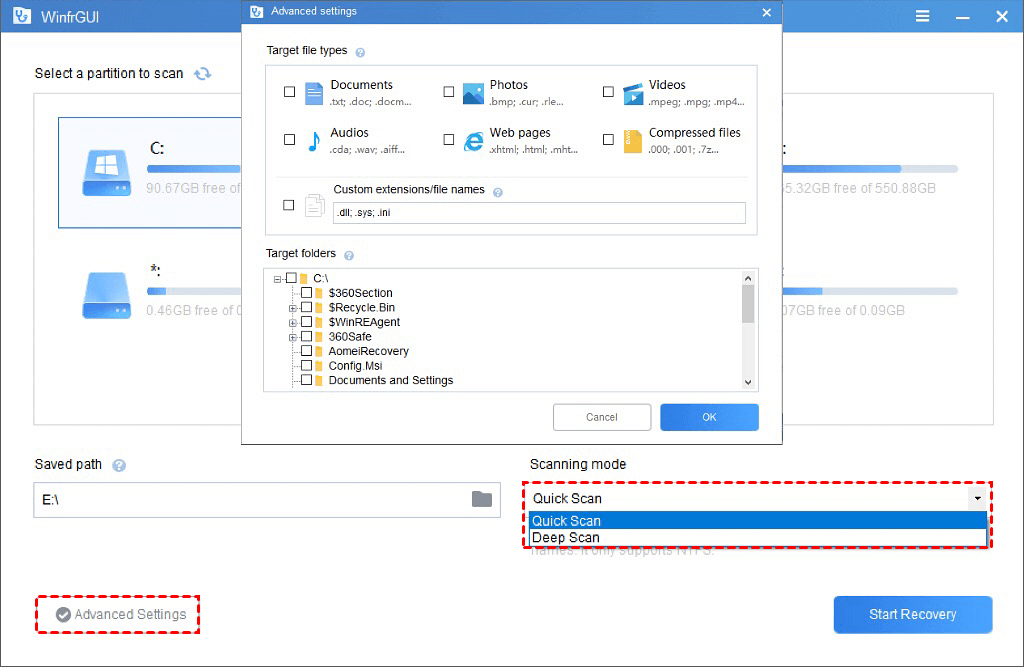
Step 3. Click the “Start Recovery” to complete the process.
Conclusion
You are able to understand how to use Windows File Recovery through the post, at the same time, I mentioned a simpler and more efficient software in the article as well. You can choose the method that suits you by comparing and contrasting.