[SOLVED] How to Restore Windows 10 With Recovery Flash Drive
Do you have a problem with your Windows 10 PC? Whether it’s a system failure, a hard drive error, or a virus infection. It can be disappointing when your computer refuses to boot, but don’t worry. There is a way out. By creating a Windows 10 repair disk, a recovery drive, or a system backup image, you can easily repair and restore your Windows 10 system when it is inaccessible. And if you’re worried about data loss, there are data recovery solutions available as well.
When your Windows 10 operating system suddenly fails or your internal hard drive has severe errors, data loss is a common problem. That’s why it’s important to have a recovery or backup plan in one place in case your Windows 10 PC can’t boot. There’s support that can save lives in these situations.
Windows 10 Disk Repair vs. Windows 10 Recovery Drive vs. System Image
Now let’s take a closer look at the different options available to repair and restore your Windows 10 system. Windows 10 has two options for recovery/repair: a rescue drive and a system repair board. You may wonder where to choose. Check out their differences below:
- Windows 10 Disk Repair: This bootable CD/DVD also includes a Windows Troubleshooter that can help fix issues related to computer boot. It also allows you to recover your PC from previously created system backups. In other words, it will keep your computer back in the same state as when you created a repair disk.
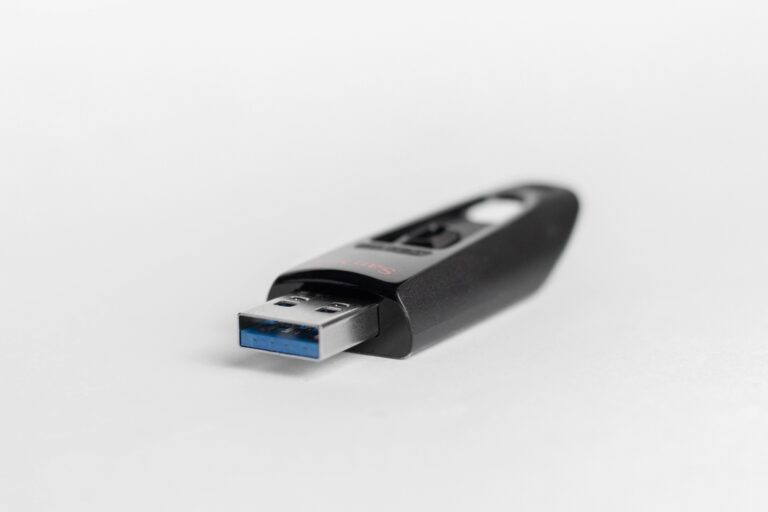
- Windows 10 Recovery Drive: This is a bootable USB driver that has the same troubleshooting tool as the system repair board. It also copies the required system reinstallation files, depending on your current PC, and allows you to reinstall Windows 10 when needed. Using a recovery drive will bring your system back to its factory starting state.
- Windows System Images: Another option is to restore your PC from a backup recovery system image. This method creates images of all Windows environments, including personal files and programs. It is important to generate system images regularly to make sure you have the most up-to-date version of Windows.
The recovery image will be stored in the special recovery partition on your PC and will take up about 3-6GB of space. If you are creating a recovery drive, you can choose to delete a backup image or recover a partition to save space on your computer. It is worth mentioning that the image backup utility is disabled in Windows 10.
Considerations when choosing between a repair disk and a recovery drive:
Both the repair disk and the recovery drive can be used to repair your Windows 10 operating system. Damage or boot problems. You don’t need to build both. Just choose one according to your preferences.
USB drives are small, portable, and tend to be less damaged than DVD/CD disks. USB data transfer speeds are faster. Since many new PCs or laptops no longer have DVD drives inside. Generating USB drivers with Windows 10 Recovery is an effective option.
However, if your PC can’t boot from a USB drive, making a CD/DVD Windows 10 repair is essential to help you fix boot problems.
It is important to note that both the recovery drive and the repair disk do not back up any files/personal information, or installed programs. If you have important information that you do not want to lose or if you want to reinstall Windows 10, it is recommended to make a backup.
How to create a USB drive to recover Windows 10 in 4 steps?
Now we go back to the steps related to creating a USB drive. Windows 10 Recovery follows these 4 steps:
Step 1: Plug the USB drive
Start by plugging a USB drive (larger than 8GB) into your Windows 10 computer and make sure it is connected properly.
Step 2: Open Windows 10 Recovery Drive Tool
In the search box at the back of the address, start typing “Recovery Drive” and clicking on the most appropriate result, which is “Create Recovery Drive”. This will open the Windows 10 Drive Recovery Tool. Click “Next” to proceed.
Step 3: Select the USB flash drive
Select the target USB drive and click “Next”.
Tip: Keep in mind that everything on the USB drive will be deleted, so make sure you have transferred the necessary data to other devices.
Step 4: Create Recovery Drive
Finally, click on the “Create” button to start creating a USB drive. The Windows 10 recovery process may take a long time. Once done, click “Finished”.
If your computer doesn’t work or can boot in the future, you can plug in a USB drive, and recover and reboot your Windows 10 computer. Then from there, you will have two options in the “Recover from Drive” and “Advanced Options” troubleshooting window.
“Drive Recovery” will cleanly reinstall Windows, which means all your installed data and applications will be lost.
“Advanced Options” provides multiple recovery/repair methods, including system recovery, image recovery systems, repair therapy, order start, and return to the previous build.
How do I create a Windows 10 repair disk in 3 steps?
Now we’re going to build a Windows 10 repair disk. Follow these three steps:
Step 1: Insert CD/DVD
Insert an empty CD/DVD into your DVD-ROM or an external DVD drive that is connected.
Step 2: Open the system repair disk generator window.
Click on “Control Panel” on your computer screen, then click on “Backup and Restore (Windows 7)”, then click “Create System Repair Sheet” from the left column to open the Repair Disk Generation window.
Step 3: Create a Repair Disk for Windows 10
Select the empty target DVD/CD you just inserted and click on the “Create” icon to start creating a Windows 10 repair disk.
You can now use the System Repair Disk to boot your Windows 10 PC and access the Windows System Restore Tool to help you recover Windows from a serious bug or restore your PC from a system image.
How to create a system image in Windows 10?
Finally, let us come to how to create a system image in Windows 10, even if the feature is disabled. Follow these steps:
- Open the Control Panel window on your computer.
- Click on “System and Security.”
- Click on “Backup and Restore (Windows 7)”.
- Select “Create System Image.”
- Select the target to save the backup under the “on hard drive” option.
- Add any other drives you want to include in the backup.
- Click on the “Start Backup” button to start securing your Windows 10 PC’s system image.
Conclusion
Now you have a better understanding of how to create a Windows 10 repair disk, recovery drives, and system images, as well as edit and repair manuals for Windows 10. We hope that your Windows 10 computer will recover and work well. And don’t forget that if you do a backup, your lost data will be returned.
Further Reading: 3 Effective Ways to Create Windows 11 Recovery Usb